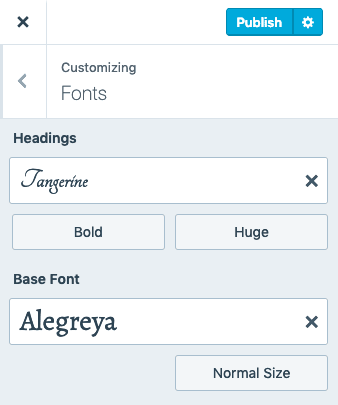
To change the font in WordPress, access the theme customizer or use a plugin. Customize the fonts to match your design.
Changing the font in WordPress can significantly impact the overall look and feel of your website. Fonts play a crucial role in readability and user experience. Accessing the theme customizer allows you to make these changes easily without any coding knowledge.
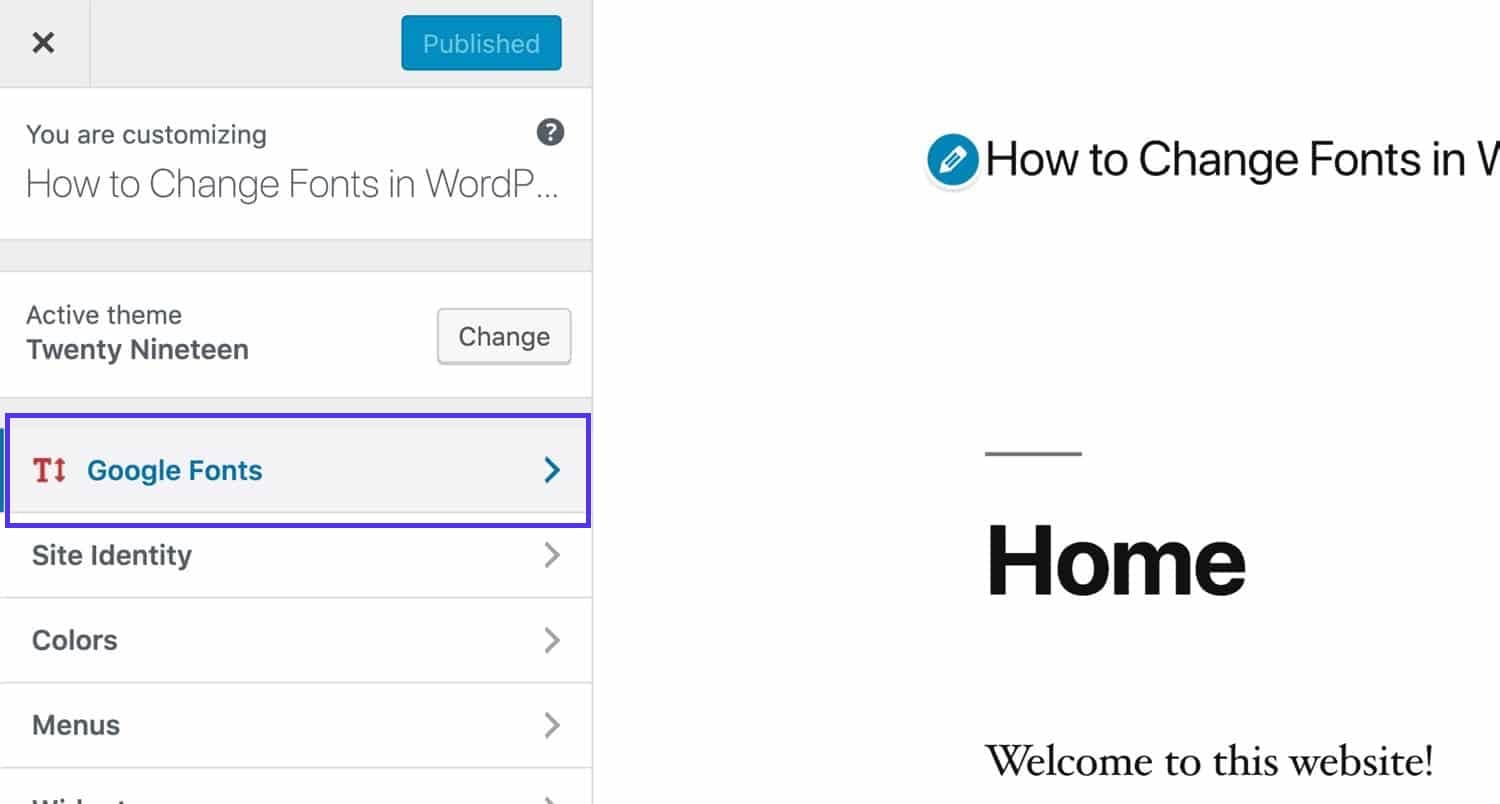
Alternatively, plugins like Easy Google Fonts provide a vast selection of typefaces. These tools offer flexibility and a user-friendly interface, making it simple to update your site’s typography. Consistent and appealing fonts can enhance your website’s aesthetics and improve user engagement. Always choose fonts that align with your brand identity and are easy to read across different devices.

Choosing The Right Font
Choosing the right font for your WordPress site is crucial. It impacts readability, aesthetics, and user experience. A good font makes your content engaging and easy to read.
Font Types
Fonts come in different types. Common types include serif, sans-serif, monospace, and cursive. Each type has its unique style and use-case.
- Serif: Fonts like Times New Roman. They have small lines at the end of characters.
- Sans-serif: Fonts like Arial. They lack the small lines at the end of characters.
- Monospace: Fonts like Courier. Each character takes up the same space.
- Cursive: Fonts like Comic Sans. They have a flowing, handwritten style.
Readability And Aesthetics
Readability and aesthetics are vital for user engagement. A readable font ensures users can easily understand your content. Aesthetics make your site visually appealing.
Readability:
- Choose a font size between 14px and 18px.
- Ensure good contrast between text color and background.
- Avoid overly decorative fonts for body text.
Aesthetics:
- Match the font style with your website’s theme.
- Use a maximum of two or three different fonts.
- Ensure that headings and body text fonts complement each other.
Here is a simple example of adding custom fonts using CSS:
/ Add custom font /
@import url('https://fonts.googleapis.com/css2?family=Roboto:wght@400;700&display=swap');

body {
    font-family: 'Roboto', sans-serif;
}
Using WordPress Customizer
The WordPress Customizer is a powerful tool for changing fonts. It offers a user-friendly interface to make quick changes. You can easily preview your changes in real-time.
Accessing The Customizer
First, you need to access the Customizer. Follow these simple steps:
- Log in to your WordPress dashboard.
- Navigate to Appearance in the left-hand menu.
- Click on Customize.
This will open the WordPress Customizer interface. Here, you can make many changes to your site. Let’s focus on changing fonts.
Changing Fonts In Customizer
Once inside the Customizer, follow these steps to change fonts:
- Click on the Typography option. This is usually found under the Appearance menu.
- Select the text element you want to change. Common options include Body, Headings, and Menus.
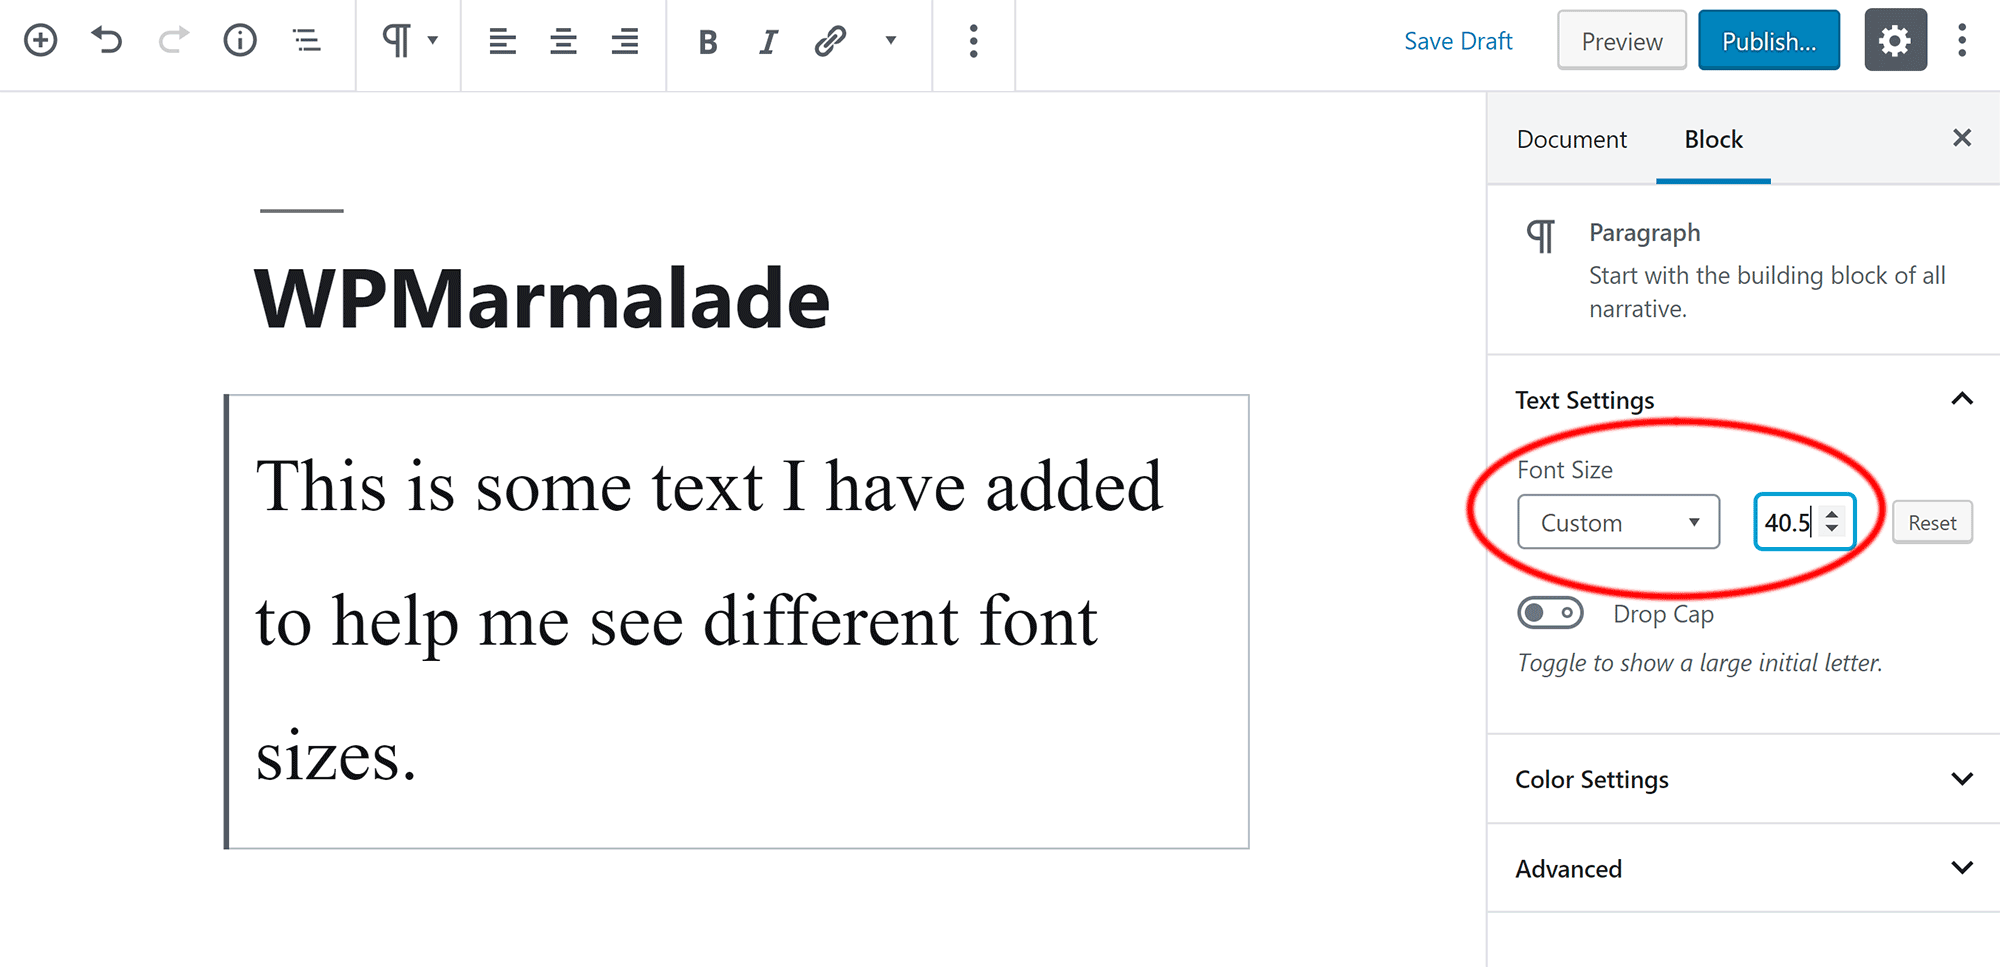
- Choose a new font from the dropdown list. You may also adjust the font size, style, and weight.
- Click Publish to save your changes.
Here’s a quick view of the steps in table form:
| Step | Action |
|---|---|
| 1 | Access the Customizer from the Appearance menu. |
| 2 | Select the Typography option. |
| 3 | Choose the text element to change. |
| 4 | Pick a new font and adjust settings. |
| 5 | Click Publish to save changes. |
Info: What is the Difference between Categories And Tags in WordPress? Explained!
Remember to preview your changes. Make sure the new font looks good on all devices.
Using A WordPress Plugin
Changing fonts in WordPress is simple with plugins. Plugins offer diverse fonts and styles. They make your website look unique and professional.
Popular Font Plugins
Here are some popular WordPress font plugins:
- Easy Google Fonts: Integrates Google Fonts into your site.
- Use Any Font: Lets you upload custom fonts.
- FontPress: Offers a wide range of typography options.
Step-by-step Plugin Guide
Follow these steps to change fonts using a plugin:
- Install the Plugin: Go to
Plugins > Add Newin your WordPress dashboard. - Search for Plugin: Type the plugin name in the search box.
- Activate the Plugin: Click
Install Nowand thenActivate. - Configure the Plugin: Go to the plugin settings page.
- Select Your Font: Choose a font from the available options.
- Apply the Font: Save your settings to apply the new font.
Using a plugin is the easiest way to change fonts. It offers flexibility and a wide range of options. You can enhance your website’s appearance with just a few clicks.
Editing Theme Code
Editing theme code in WordPress allows you to personalize your website’s look. You can change fonts, colors, and layouts. This process involves tweaking CSS files. Below is a step-by-step guide on how to change fonts in WordPress by editing theme code.
Understanding Css
CSS stands for Cascading Style Sheets. It controls your website’s appearance. By editing CSS, you can change fonts, colors, and more.
To access CSS, go to your WordPress Dashboard. Navigate to Appearance > Theme Editor. Here, you will see a list of files. Look for a file named style.css.
Adding Custom Fonts To Css
To add custom fonts, you need to modify the style.css file. First, you need to choose a font. Google Fonts is a great resource. Find a font you like and click on it. Copy the import URL provided.
Open the style.css file in your Theme Editor. Add the import URL at the very top of the file like this:
@import url('https://fonts.googleapis.com/css2?family=Roboto:wght@400;700&display=swap');
Next, you need to specify where to use this font. Locate the body selector in the style.css file. It might look something like this:
body {
    font-family: 'Roboto', sans-serif;
}
Replace the existing font-family value with your chosen font. Save the changes by clicking on the Update File button.
You can also apply custom fonts to specific elements. For example:
h1 { font-family: 'Roboto', sans-serif; }
This will change the font of all h1 tags to your chosen font.
Remember to save your changes. You should now see the new font on your website.
Google Fonts Integration
Integrating Google Fonts into your WordPress site enhances its visual appeal. The process is simple and can significantly improve your site’s user experience. Follow the steps below to seamlessly integrate Google Fonts into your WordPress website.
Selecting Google Fonts
First, visit the Google Fonts website. Browse through the extensive library of fonts. You can filter fonts based on categories like Serif, Sans-serif, Display, Handwriting, and Monospace.
Once you find a font you like, click on it. You’ll see a preview and customization options. Customize the font by selecting different styles and weights. After customization, click the ‘Select this style’ button.
| Category | Description |
|---|---|
| Serif | Traditional, elegant fonts with decorative strokes. |
| Sans-serif | Modern, clean fonts without decorative strokes. |
| Display | Bold, eye-catching fonts for headings. |
| Handwriting | Fonts that mimic cursive writing. |
| Monospace | Fonts where each character takes up the same space. |
Info: Is WordPress Easy to Use: A Beginner’s Ultimate Guide
Implementing Google Fonts
After selecting your preferred font, you need to integrate it into your WordPress site. Copy the provided embed link from Google Fonts.
Next, go to your WordPress dashboard. Navigate to Appearance > Theme Editor. Open the header.php file and paste the embed link within the section.
Here is an example of how to include the link:
After adding the link, save the changes. Now, you can use the new font in your CSS files. For instance:
body {
font-family: 'Roboto', sans-serif;
}This code sets the ‘Roboto’ font for the entire body of your website. Adjust the font-family property in your CSS files as needed.
Enjoy the enhanced look of your WordPress site with the new Google Fonts!

Troubleshooting Font Issues
Fonts play a crucial role in your WordPress site’s appearance. Sometimes, changing fonts can cause unexpected issues. In this section, we will address common problems and offer quick fixes to resolve them.
Common Problems
Common font issues can include:
- Fonts not displaying correctly.
- Font size changes not applying.
- Compatibility issues with different browsers.
- Missing custom fonts.
These problems can impact your site’s readability and aesthetics.
Quick Fixes
Here are some quick fixes for font issues:
- Clear Cache: Clear your browser and WordPress cache. This often solves display issues.
- Check CSS: Ensure your CSS code is correctly written. Incorrect code can prevent font changes.
- Browser Compatibility: Test your site on different browsers. Some fonts may not be supported on all browsers.
- Font Upload: Make sure custom fonts are uploaded correctly. Use a plugin like “Use Any Font” for custom fonts.
If these fixes do not work, you may need to consult your theme’s documentation or support forum.
Font Plugin Conflicts
Sometimes, font plugins may conflict with each other. Disable all font-related plugins and enable them one by one. This can help identify the conflicting plugin.
Theme Issues
Some themes may have built-in font settings. These settings can override your changes. Check your theme’s settings and documentation for more details.
By following these steps, you can resolve most font issues in WordPress. Happy blogging!

Info: How to Backup WordPress Site: Ultimate Guide for 2024
Frequently Asked Questions
How Do I Change Fonts In WordPress?
Go to Appearance > Customize. Then select Typography to change fonts.
Can I Use Google Fonts In WordPress?
Yes, you can use Google Fonts. Install the Easy Google Fonts plugin.
Why Won’t My WordPress Font Change?
Clear your browser cache. Ensure your theme supports custom fonts.
Conclusion
Changing the font in WordPress can greatly enhance your site’s appearance. Follow these steps for a fresh look. Customize your site’s typography to improve readability and user experience. Experiment with different fonts to find what best suits your brand. Enjoy the new, visually appealing design of your WordPress website!


