Migrating a WordPress website to a new host can seem daunting, but it’s manageable with the right steps. The process involves backing up your site’s files and database, transferring them to the new host, and updating your domain settings. This ensures that your website remains accessible to users during and after the migration. To move WordPress website to a new host, back up your site files and database. Then, upload them to the new host.
Proper planning and execution are crucial for a smooth transition. By following a structured approach, you can minimize downtime and avoid potential issues. Understanding the steps involved helps you maintain your site’s functionality and performance, ensuring a seamless experience for your visitors.
Preparation Steps
Moving your WordPress website to a new host requires careful planning. The first phase involves preparation steps. Proper preparation ensures a smooth and successful migration.
Backup Your Website
Before you start, backup your website. This step ensures your data is safe.
- Use a plugin like UpdraftPlus or Duplicator to create backups.
- Download the backup files to your computer.
- Ensure you backup both the database and files.
Storing the backup files in a secure location is crucial. Consider using cloud storage for added safety.
Info: How to Change Font Size in WordPress: Ultimate Guide
Choose A New Host
Selecting the right host is crucial for your website’s performance. Consider the following factors when choosing a new host:
| Criteria | Details |
|---|---|
| Performance | Look for high uptime and fast server response times. |
| Support | 24/7 customer support is essential. |
| Scalability | Ensure the host can grow with your website. |
| Pricing | Compare costs and ensure they fit your budget. |
Once you decide, sign up for an account with the new host. Obtain the necessary credentials to access the new hosting environment.
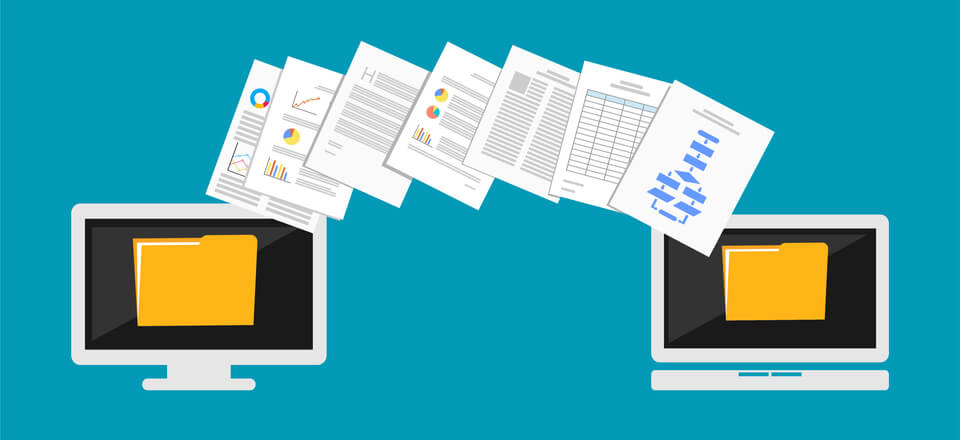
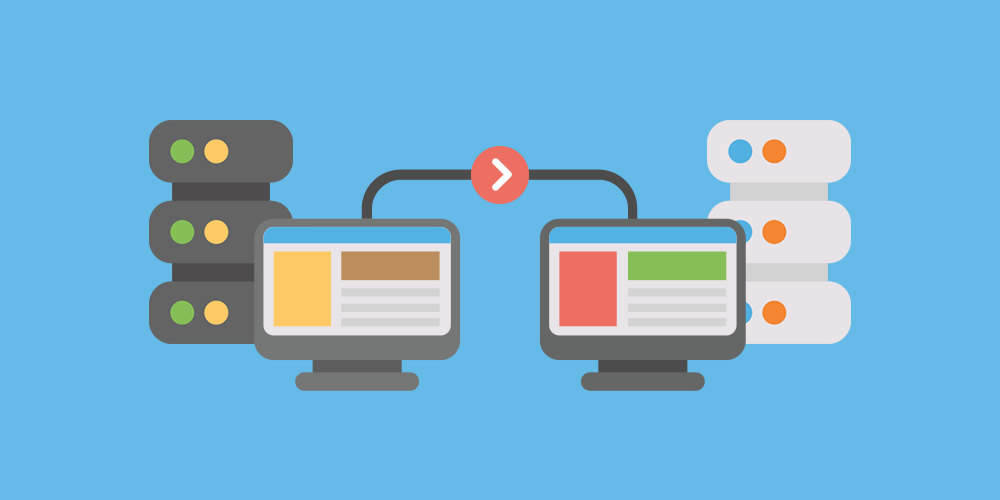
Migrating Your Files
Moving your WordPress website to a new host is a big step. The process involves several critical stages. One of these stages is migrating your files. This part ensures your website’s content moves safely to the new host. Let’s break down the steps to make this task easier for you.
Download WordPress Files
First, you need to download all your WordPress files. These files include themes, plugins, and uploads. Follow these steps:
- Access your current host’s control panel.
- Find the File Manager or use an FTP client like FileZilla.
- Navigate to your WordPress installation directory.
- Select all files and folders.
- Download them to your local computer.
Ensure you download the entire public_html folder or the folder where WordPress is installed. This folder contains everything your website needs to function.
Upload To New Host
Now, it’s time to upload these files to your new host. Follow these steps:
- Log in to your new host’s control panel.
- Open the File Manager or connect via FTP.
- Go to the directory where your new WordPress site will reside.
- Upload all the files you downloaded earlier.
Ensure the files are placed in the correct directory. This step is crucial for your site to work properly on the new host.
Once uploaded, you may need to adjust file permissions. This ensures your website runs smoothly. Check the host’s guidelines for the correct settings.
By following these steps, you can successfully migrate your WordPress files. This keeps your site’s integrity intact during the move.
Transferring The Database
Moving your WordPress website to a new host involves several steps. One crucial step is transferring the database. This process ensures your website’s data remains intact. Follow these steps to transfer your database smoothly.
Export Database
First, you need to export your database from the old host. Here are the steps:
- Log into your old host’s cPanel.
- Go to phpMyAdmin.
- Select your WordPress database.
- Click on the Export tab.
- Choose the Quick export method.
- Click Go to download the database file.
This will save a .sql file to your computer. This file contains all your website’s data.
Import Database
Next, import the database to your new host. Follow these steps:
- Log into your new host’s cPanel.
- Go to phpMyAdmin.
- Create a new database if needed.
- Select the new database.
- Click on the Import tab.
- Click Choose File and select the .sql file.
- Click Go to import the database.
Your WordPress database is now transferred to the new host. Ensure all data has been imported correctly.
| Step | Action |
|---|---|
| 1 | Log into old host’s cPanel |
| 2 | Go to phpMyAdmin |
| 3 | Select your WordPress database |
| 4 | Click on Export tab |
| 5 | Choose Quick export method |
| 6 | Click Go to download |
Info: How to Add Meta Tags in WordPress: A Step-by-Step Guide
Finalizing The Move
Congratulations! You’ve successfully transferred your WordPress website to a new host. Now, it’s time to finalize everything to ensure your site runs smoothly. This step is crucial for maintaining your website’s functionality and performance. Follow the steps below to complete the process.
Update Dns Settings
Updating your DNS settings is essential. This step will point your domain name to your new hosting provider.
- Log into your domain registrar account.
- Find the DNS settings or name server settings.
- Replace the old name servers with the new ones provided by your host.
Changes can take up to 48 hours to propagate. Be patient and keep checking.
Test Your Website
After updating the DNS settings, test your website to ensure everything works correctly.
- Visit your site using different browsers.
- Check all pages and posts.
- Test all forms and interactive elements.
- Ensure all media files load properly.
If you find any issues, troubleshoot them immediately. Use tools like Broken Link Checker to identify broken links.
Testing ensures your site performs well for your users. It helps maintain your site’s SEO rankings.
Info: How to Add Google Analytics to WordPress Site: Step-by-Step Guide
Frequently Asked Questions
How Do I Backup My WordPress Site?
To backup your WordPress site, use a plugin like UpdraftPlus. It allows you to easily create backups. Alternatively, you can manually backup your files and database via cPanel.
How Can I Transfer My WordPress Site?
To transfer your WordPress site, export your database and files. Upload them to the new host. Update the wp-config. php file with the new database details.
What Should I Do After Migrating?
After migrating, update your domain’s DNS settings. Check for broken links and test your website thoroughly. Ensure all plugins and themes work properly.
How Long Does A WordPress Migration Take?
A WordPress migration typically takes a few hours. The duration depends on the size of your site and the hosting providers involved.
Conclusion
Migrating your WordPress website to a new host can seem daunting, but it’s manageable. Follow the steps outlined, and ensure backups are in place. Regularly check your site for any issues. A smooth transition will help keep your website running efficiently.
Happy hosting!